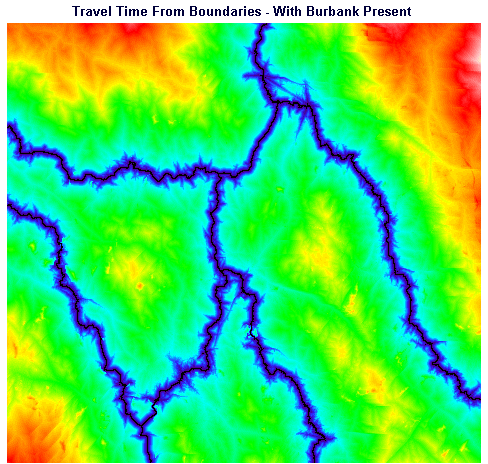
To create the travel time buffers, we created travel time maps with the origins of travel being the boundaries between any two allocation zones. By reclassifying all of the pixels which had travel time greater than three minutes in the resulting images, we determined the three-minute buffers. The IDRISI approach is as follows:
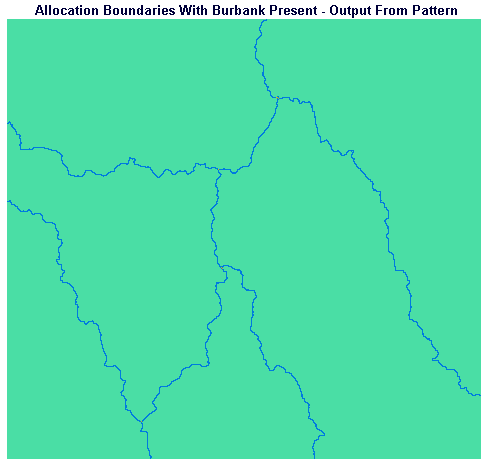
The PATTERN module provides an easy way to elucidate the boundaries between the allocation zones. The Number of Different Classes option in PATTERN will determine how many pixels with different values are located in each 3 X 3 window throughout one of our allocation images. Wherever a boundary is encountered, the 3 X 3 window will contain pixels with two different values and pattern will place a value of two in the output image; wherever we are wholly within one of the allocation zones only one value of pixel will be present in a 3 X 3 window and PATTERN will place a one in the output image. Wherever three allocation zones meet, PATTERN will place a three in the output image.
Run PATTERN from the Context Operators section of the Analysis menu. Specify that you wish to calculate Number of Different Classes (NDC) in a 3 X 3 window on the ALLOWB image to produce ALLOWBND.
Display ALLOWBND using the QUAL256 palette; choose to display a legend. Notice that PATTERN has created an image which has pixels containing one everywhere except along the boundaries. If you look carefully, you can also see the pixels containing a value of three at the places where three zones meet.

In order to continue our comparison between the Burbank Hospital existing scenario and the Burbank Hospital closed scenarion, we must perform the same steps for the no-Burbank case. Run PATTERN again, specifying that you wish to calculate Number of Different Classes (NDC) in a 3 X 3 window on the ALLONOB image to produce ALLONOND.
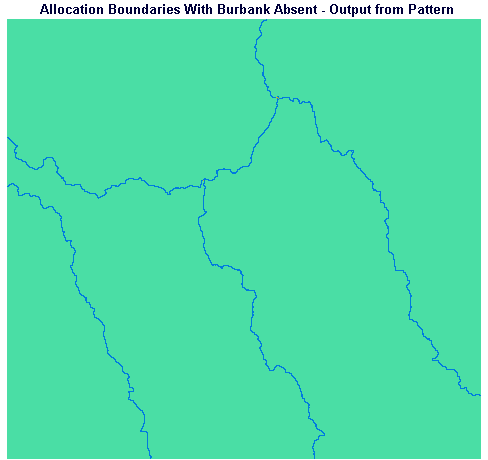
In order for COST to produce a travel time map from the boundaries, we need to reclassify all of the ones in the NDC images to zero. This will leave the areas with twos (and the few threes) as source locations from which COST will calculate travel time.
Run RECLASS from the Database Query section of the Analysis menu, indicating that you wish to conduct a user-defined reclassification on the input image ALLOWBND and the output should be NDCWBRCL. Indicate that a value of 0 should be given to all pixels with a value of 0 to just less than 2.
Run RECLASS again indicating that you wish to reclassify the input image ALLONOND and the output should be NDCNORCL. Again, indicate that a value of 0 should be given to all pixels with a value of 0 to just less than 2.
Run COST from the Distance Operators section of the Analysis menu, specifying that you wish to perform a Cost Push analysis using NDCWBRCL as the Source Feature Image and PERCLF14 (the travel-time-per-cell-incorporating-urbanization-factor image) as the Friction Surface Image. Call the output image BNDTTWB.
Run COST again using NDCWBRCL as the Source Feature Image and PERCLF14 as the Friction Surface Image. Call the output image BNDTTNOB.
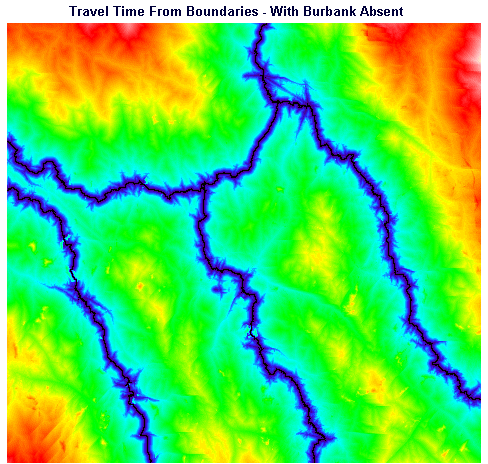
Now we're ready to create our buffers by reclassifying to zero all travel times from catchment boundaries exceeding 3 minutes. Run RECLASS from the Database Query section of the Analysis menu, indicating that you wish to conduct a user-defined reclassification on the input image BNDTTWB and the output should be BUFFWB. Indicate that a value of 10 should be given to all pixels with a value of 0 to just less than 3. Click the right arrow to specify a second range of values to reclassify; indicate that a value of 0 should be given to all pixels with a value of 3 to just less than 100.
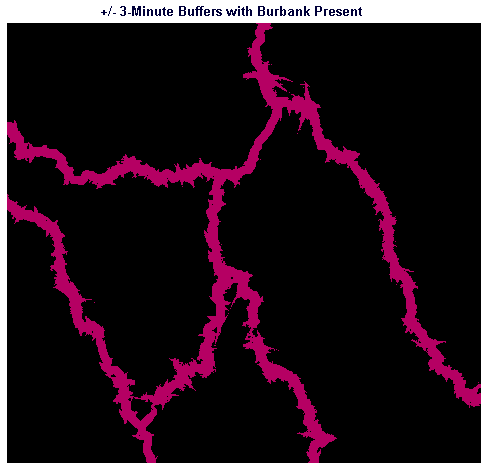
Run RECLASS again, indicating that you wish to conduct a user-defined reclassification on the input image BNDTTNOB and the output should be BUFFNOB. Indicate that a value of 10 should be given to all pixels with a value of 0 to just less than 3. Click the right arrow to specify a second range of values to reclassify; indicate that a value of 0 should be given to all pixels with a value of 3 to just less than 100.